By default, the Resource Planning view shows data for the current period. With the date picker, you can choose the exact range of days you want to view or select a predefined time period for quick viewing.
The date picker at the top-left shows the displayed period. Use the < and > arrows in it to navigate to a previous or next period.

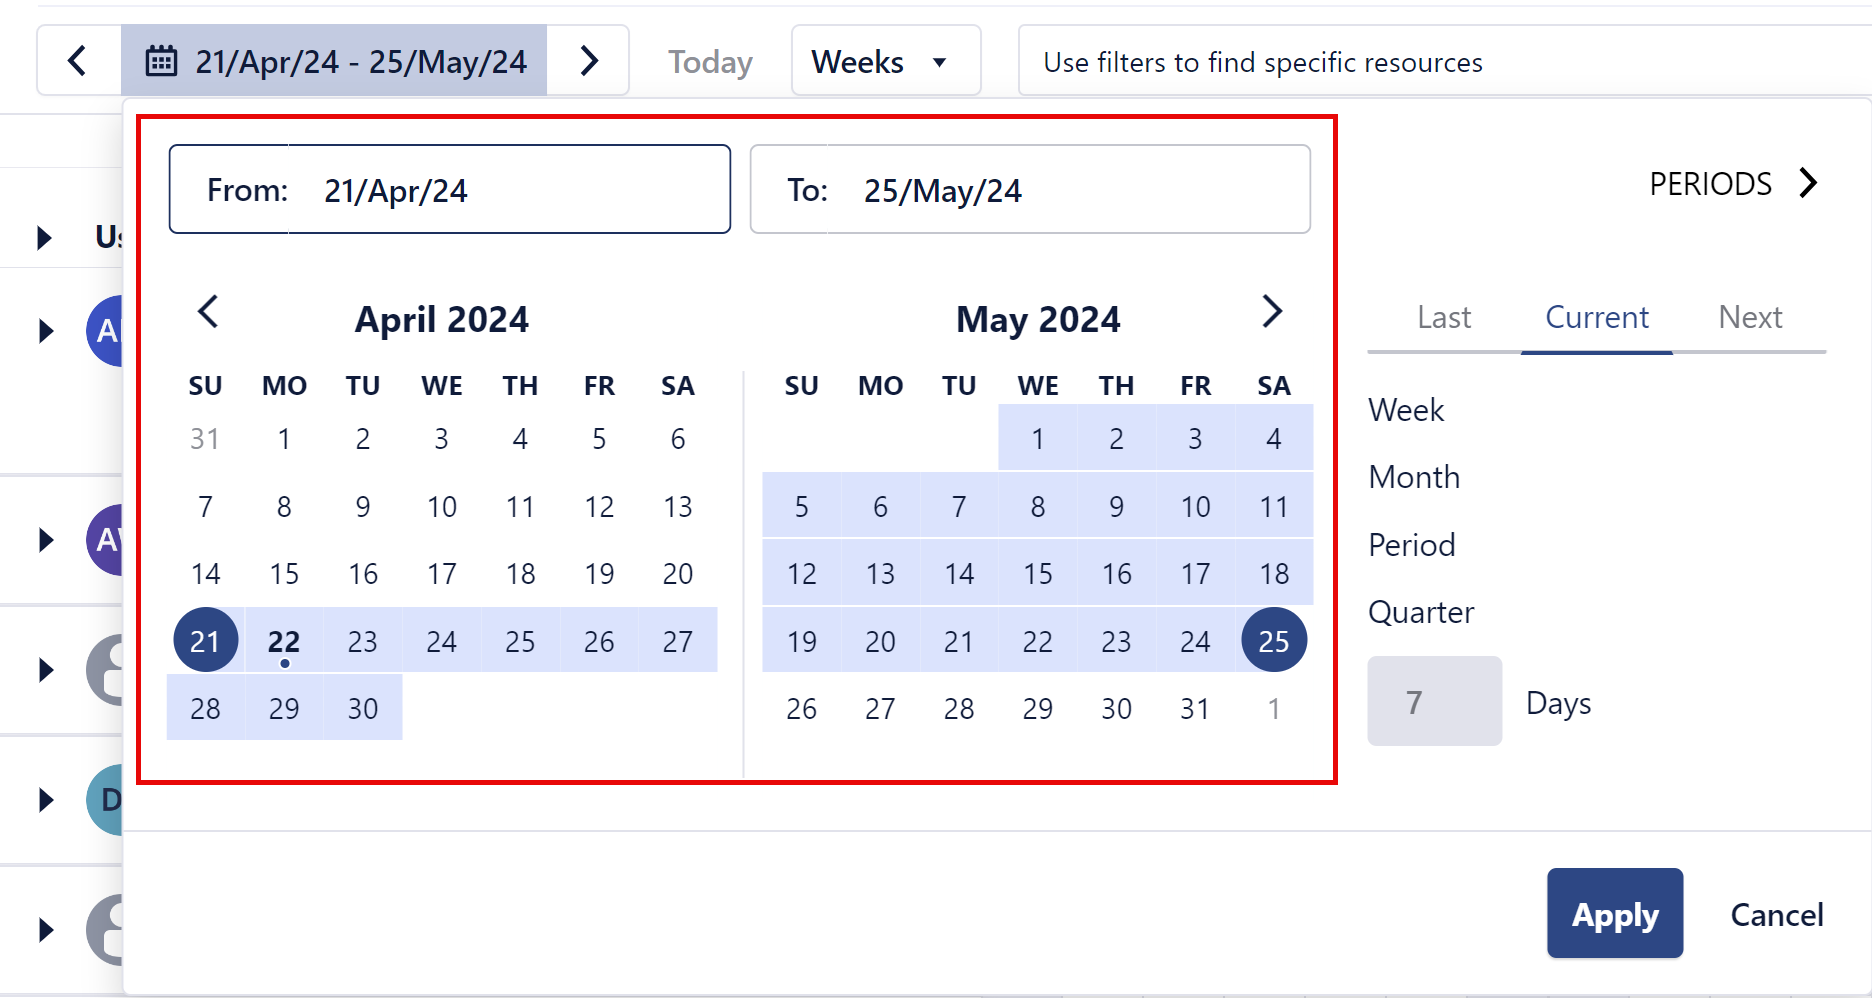
Click on the date picker to open the calendar from where you can select a time period - either a custom range or a predefined period.
To select a custom time range:
-
Pick the start date on the calendar to automatically update the From field, or enter a date directly in the field.
-
Pick the end date on the calendar to automatically update the To field, or enter a date directly in the field.
-
Click Apply. The Resource Planning view is updated to show this time period.
To select a predefined time period:
-
On the right, select a predefined time period: Week, Month, Period, or Quarter.
-
Select one of these options: Last, Current, or Next.
You can also enter a value in the Days box to define a custom Last or Next period.
The calendar is updated to show these dates.
-
Click Apply. The Resource Planning view is updated to show this time period.
To select a monthly period in another year:
-
Click PERIODS > at the top-right.
-
Navigate to a year, then a select the month that you want.
The calendar in the date picker is updated to show these dates.
-
Click < BACK to return to the calendar.
-
Click Apply. The Resource Planning view is updated to show this time period.